Follow Me
Tag Corner
Join TagCorner! I did!
Blog Archive
- 2012 (2)
- 2011 (2)
- 2010 (12)
-
2009
(19)
- November(2)
- September(2)
-
May(9)
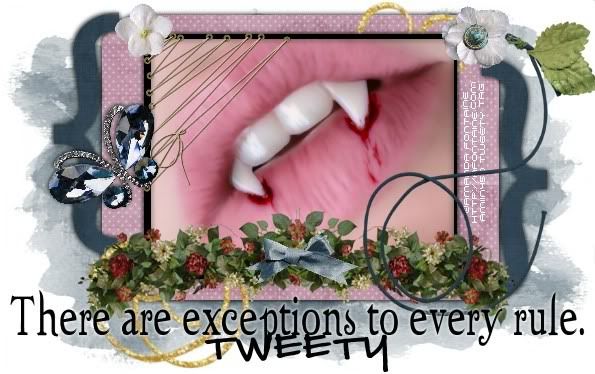
- The Saga : Bad Vamps
- The Saga : Bella's Lullaby
- The Saga Add On 2 : Bella
- The Saga Character Collection : Esme
- The Saga Character Collection : Carlisle
- The Saga Character Collection : Jasper
- The Saga Character Collection : Alice
- The Saga Character Collection : Emmett
- The Saga Character Collection : Rosalie
- April(2)
- March(4)
May 14, 2009
The Saga Character Collection : Esme

Feel free to use my tutorial in any way you would like. Although it is my ideas that will guide you, please feel free to do whatever you choose with it!
This tutorial assumes you have a working knowledge of PSP.
Needed supplies:
Scrap Kit of choice or the one I am using. This kit is by Pimp'd Tag Scraps and can be purchased at Sophisti-Scraps called The Saga Character Collection : Esme.
Masks of Choice: the masks I used came from Chelle under downloads. Her site can be found here.
I used WSL_254.
Template: Yvette's twilight templates can be found on her site here.
I used template two which can be found here.
Image of choice. I am using the wonderful work of Amanda Fontaine which I have a license to use. Please do not use this work with out the correct license. This image was purchased at AMI but is no longer available.
Open all supplies needed for this tutorial. Add the mask to your mask file or open them in PSP. I use these quite a bit.
Shift + D to duplicate your template. Delete the copyright on your duplicated template layer. Close out the original template.
Copy and paste pp12 as a new layer. Resize it to fit the tag, and then Layers, Load/Save Mask from Disk, Load Mask, Choose Chelle's WSL_254. Merge, merge group. This layer should be just above your white background.
If you are unfamiliar with a template it is very simple and easy to use. Basically, you click on the layer you wish to color. Then, Selections, Select All, Selections Float, Selections Defloat, Selection Invert (for papers) and then select the paper layer and hit the delete key on your keyboard. If you are using a flood fill color, just add a new layer and flood fill the selection. If you are using a round shape, you would also need to go to Selections, Smooth, 10 for settings, then Invert. I won't be writing these directions out everytime.
Below you will find the template layer and the paper layer used in my tag.
rounded rectangle - pp02
tone - left as is.
shapes - pp11
background - pp03
frame - floodfilled black.
wordart - deleted and used a Esme quote. Twilight Font
I added a 1, 1, 70, 5 black drop shadow and repeated it with -1, -1 to all the template layers.
Add your elements of choice. See tag for exact placement and resize as necessary. I added:
glitter-doodle - rotated 45 degrees to the right and placed under the frame and background layer.
tied-corner to the top left corner.
flower-05 to the top left corner.
swag to the middle of the frame on the bottom.
string to the top right of the tag.
butterfly-brooch to the middle left of the frame.
flower-02 to the top right of the tag on top of the string.
button to the top right of the tag on top of the flower-02.
Add any other elements of your choice.
Misting an image is very easy. Using your magic wand, freehand selection, use these options:
 Click on the image and choose Promote Background Layer. Now, start anywhere in the image you want to begin. What you are going to do is left click to place the pointer and then move the line to the next point and click again to make a rough cutout of the portion of the image you would like to mist. When you are done, right click and the selection will be made. Then, hit delete on your keyboard once or twice to feather the image around it.
Now add your tube to the tag and resize as needed.
Drop shadow your layers and merge them where you would like.
Add your copyright at this time for the scrapkit.
Add your text of choice, I used Pea Sean for the text and the font, with a medium 3.0 white gradient glow if desired. You could also use a white drop shadow to create the same results.
Hope you enjoyed this tutorial! Please feel free to send me your results!

Labels:
Twilight
Subscribe to:
Post Comments (Atom)
About Me

Want to receive some of the tutorial tags created by me?

Click to join tweetytags


0 comments:
Post a Comment